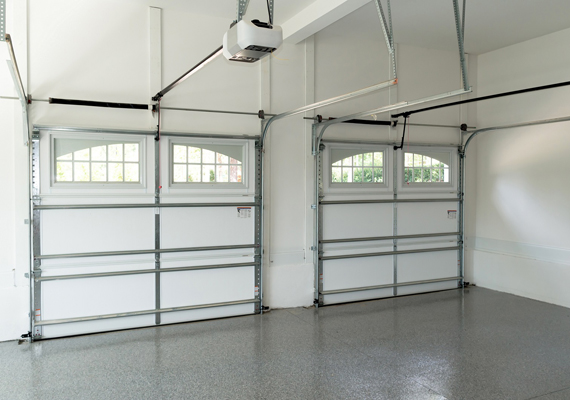
A DIY Guide To Garage Door Opener Installation
Installing a garage door opener is not an overly difficult project for an experienced do it yourselfer, and can easily be done in an afternoon with a basic set of tools. While installing a garage door opener isn’t complicated, it is easier for two people to move the motor assembly into place.
Step 1: Preventive Maintenance
Prior to installing the opener, take a few minutes to do a little preventive maintenance on the rollers and track. Replace the old steel rollers with new Teflon wheels, oil the joints on the door sections and check for any loose bolts.
Step 2: Lay Out The Parts
Lay out all the parts and sections of track on the floor in the general pattern the pieces will go together, referring to the pictures in the instruction manual if necessary.
Step 3: Connect the Track
Line up the rail sections with the motor-drive unit and bolt the sections of track together so the assembly allows the traveler, also called the carriage, to move freely along the track.
Step 4: Attach the Carriage
Slide the carriage into the bottom channel of the track. Ultimately, the carriage will attach to the garage door and be moved along the track by the drive chain.
Step 5: Attach the Track to the Garage Door Header
Bolt one of the attachment brackets to the end of the track and then bolt the bracket to the beam directly above the garage door. Have a helper support the motor-drive unit, holding it parallel with the floor, until the bracket is firmly secured.
Step 6: Support the Drive-Unit Assembly
Open the garage door completely and rest the drive unit and track assembly on top of the door until you mount the motor-drive unit to the ceiling.
Step 7: Locate the Ceiling Joists
Use a stud finder to find the ceiling joists where you intend to mount the motor-drive assembly. Note that the motor is heavy and must be securely attached directly to a ceiling joist to safely support its weight.
Step 8: Attach a Brace to the Ceiling Joist
Secure an angle bracket to the ceiling joist with lag screws. Attach two angle brackets to the motor-drive unit. Bolt the angle brackets attached to the motor-drive unit to the ceiling joist with lag screws.
Step 9: Run the Electrical Wire
Run the electrical wire from the motor-drive unit to the wall switch. If there is an attic located above the garage you can drill a hole adjacent to the motor-drive unit and run the wire through the attic. If not, run the wire along the ceiling and attach with wire staples. Connect the other end of the wire to the wall switch.
Step 10: Mount the Beam Sensors
Mount the beam sensors to the sides of the garage door, approximately six inches from the floor. Attach the electrical wire from the motor to the sensors as the instructions in the garage-door opener kit indicate.
Step 11: Attach the Opener to the Door
Attach the garage-door opener to the garage door with the L-shaped metal arm, that overlaps the carriage arm, and a heavy-duty reinforcing bracket. Secure the bracket and arm by inserting the special pins, provided with installation kit, into the pre-drilled holes.
Step 12: Test the Opener
Turn on power and check the garage-door opener operation. Test the manual switch, the remote controls and infrared sensors.
G-Brothers Garage Doors is a Colorado based garage door repair and service company; they repair, install and replace garage doors – and everything in between. With thousands of satisfied customers, they can tailor our garage door installation and repair services to fit your individual situation and needs.
