
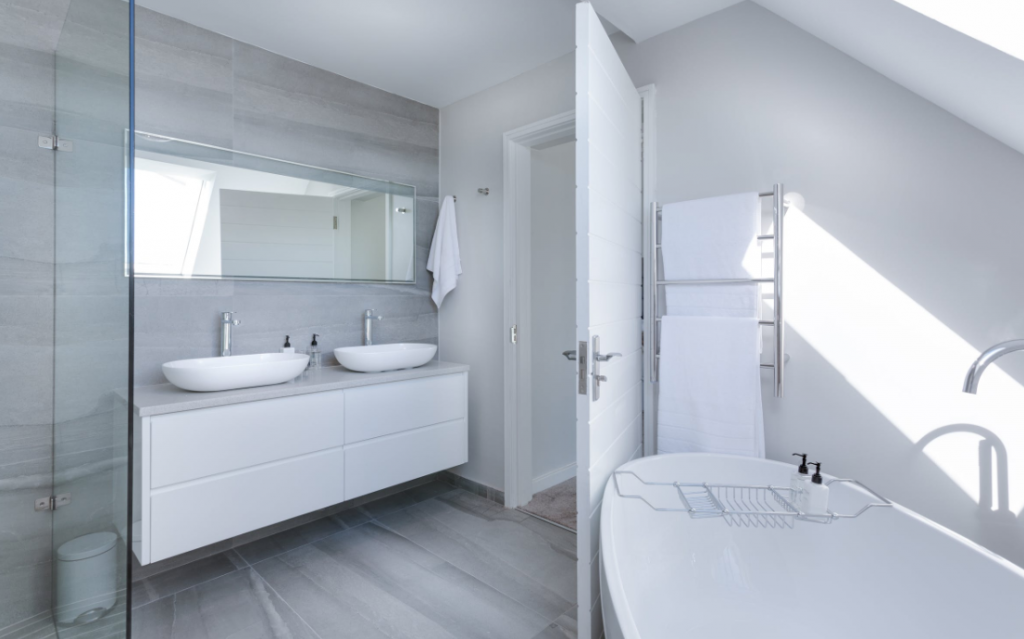
If your bathroom leaves you feeling gross instead of clean, it’s probably time for a remodel. Before you can bring in the updates, though, you have to remove what’s already there. This means you’ll need to demolish the fixtures and finishes in your bathroom in a way that’s safe and cost-effective. One way to meet both criteria is to do the demolition yourself. If you’ve never done any demo work before, though, it can be tough to know how to proceed. To ensure you complete your project on time, here are a few tips for how to do a do-it-yourself bathroom demolition.
Know the Plan
Before you bring in the heavy equipment, the important first step is to make a plan and know it well. That is, you need to know your plan for remodeling before you begin demolition. This is crucial because you need to know if you’re going to keep anything that’s currently in your bathroom as part of your new design. If you are, you must be careful to protect those elements during the demolition work. For example, if you plan to keep your bathtub but ditch your bathtub surround, you need to use plywood or another hard material to protect your bathtub during demolition.
Remove the Fixtures
Once you’ve decided what to keep and what to get rid of, it’s time for the real work to begin. The first portion of bathroom demolition involves removing the fixtures that sit on top of the finishes. Therefore, any sinks, tubs, vanities, mirrors, light fixtures, toilets, towel bars, shower curtain rods, or other similar fixtures or decor items that you don’t intend to keep need to go. When removing tubs, toilets, and sinks, it’s crucial that you turn off the water supply before beginning work to prevent gushing water from flooding your bathroom.
Remove the Finishes
Depending on how thorough your bathroom remodeling project is going to be, this step can take quite some time. If you’re aiming for a total gut job, start by removing all tile finishes, both on the floor and on the walls. Next, remove any backsplashes, tub surrounds, and other similar decorative finishes. Finally, if you’re going to take the room down to the studs, you can remove the drywall, being careful not to puncture the drywall of adjacent rooms. Once the drywall is removed, you may or may not need to remove any insulation depending on its condition and the scope of your project.
Inspect Your Work
After everything has been removed, you’ll want to carefully inspect what’s left. A common risk in bathrooms, of course, is water damage. Therefore, it’s important that you thoroughly inspect the wall cavities and subfloors to look for any type of mold or mildew growth or other signs of water damage. If you find anything, it’s vital that you take care of these issues before you start bringing in new elements.
Do-it-yourself demolition can actually be relaxing and fun. It’s not often that you get to take out stress and frustration in such a tangible way. Throughout the process, then, do your best to have fun, both as you enjoy the demo work and as you anticipate the payoff for all your hard work with a remodeled bathroom.